Node.js를 활용하여 웹페이지 긁어오기.
node.js를 활용한 여러가지 예제 중에서 접근하기 쉬운 예제를 찾아서 번역해 보았다. 단, 번역중에 나오는 스크린샷과 코드는 역자가 직접 따라하면서 캡춰한 사진과 코드들이다.
원본글 : How to Scrape Web Pages with Node.js and jQuery
오늘 할 일
이번 글에서, 우리는 youtube 홈페이지를 긁어서 썸네일과 비디오 링크, 비디오 재생시간 등을 받아온 후, 각각의 아이템을 jquery mobile을 통해 보여줄 것이고, 비디오 재생을 해 볼 것이다.
또한 npm과 express를 사용하는 법을 배우고, npm을 통한 모듈 설치, 기본적인 express 라우팅, request와 jsdom 모듈에 대한 사용법을 배울 것이다.
Step 1: Express 셋업 ( setting up Express )
Express란 무엇인가? 개발자들에 따르면 이것은… “Node와 Connect 기반으로 만들어진 기가막히게 빠르고 작은 서버사이드 자바스크립트 웹 개발 프레임워크” 라고 한다.
그럴싸하게 들리지 않는가? 먼저, express를 npm을 통해 설치해보자. 터미널을 열고 다음의 커맨드를 실행해보자.
# npm install express -g
-g 옵션을 주면, npm 은 해당 모듈은 전역적으로 설치할 것이다. ( 역자: npm에 대해서는 다음 포스트를 참고하도록 하자 - Permalink to npm 1.0 간단정리
그리고, express 프로젝트를 하나 생성한다.
# express nodetube
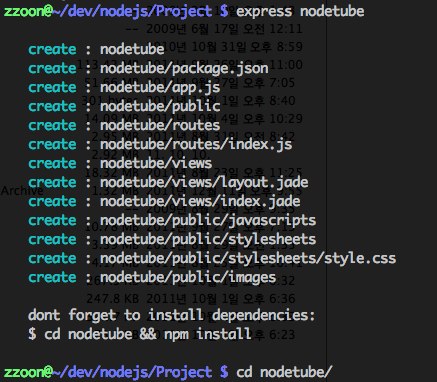
프로젝트 생성 후, express의 디펜던시를 체크하여 해당 모듈들을 설치해야 한다.
# cd nodetube
# npm install -d

“ok” 메시지와 함께 마무리되면, 제대로 진행된 것이다. 이제, 실행시켜보자.
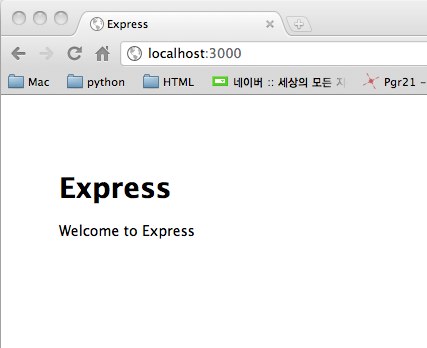
# node app.js
브라우저를 통해, http://localhost:3000에 접속해보면 다음과 같은 화면이 나온다.
Step 2: 필요한 모듈 설치하기 ( Installing Needed Modules )
JSDOM : W3C DOM을 구현한 자바스크립트 Request : HTTP request method를 단순화 한 라이브러리 ( 참고 포스트 : node.js 유용한 모듈 (4) – request )
# npm install jsdom request

모든 것이 제대로 되었다면, 실제 코드를 작성해 볼 시간이다!
Step 3: 간단한 스크레이퍼 만들기 ( Creating a Simple Scraper )
<app.js> 먼저, app.js를 열고, 첫번째 라인을 보자.
var express = require('express')
    , jsdom = require('jsdom')
    , request = require('request')
    , url = require('url')
    , app = module.exports = express.createServer();
Express로 프로젝트를 생성하면, 몇 개의 코드가 만들어진다. app.js의 내용들은 express를 사용한 node 서버의 가장 기본적인 구조이다. 위의 코드는 방금 설치한 jsdom과 request 모듈은 include 하는 것이다. url 모듈은 나중에 Youtube 비디오의 URL을 파싱할 때 필요하다.
Youtube.com 긁어오기.
app.js에서 Route 섹션을 찾고 ( 약 40라인 정도쯤 ), 다음의 코드를 추가한다.
app.get('/nodetube', function(req, res) {
  //Tell the request that we want to fetch youtube.com, send the results to a callback function
  request({uri: 'http://youtube.com'}, function(err, response, body) {
    var self = this;
    self.items = new Array();
    //I feel like I want to save my results in an array

    //Just a basic error check
    if(err && response.statusCode !== 200) {
      console.log('Request error.');
    }

    //Send the body param as the HTML code we will parse in jsdom
    //also tell jsdom to attach jQuery in the scripts and loaded from jQuery.com
    jsdom.env({
      html: body,
      scripts: ['http://code.jquery.com/jquery-1.6.min.js']
    }, function(err, window){
      //Use jQuery just as in a regular HTML page
      var $ = window.jQuery;
      console.log($('title').text());
      res.end($('title').text());
    });
  });
});
위 코드에서 youtube 홈페이지의 내용을 가져와서, title 태그에 있는 내용을 콘솔에 출력한다. 코드 추가 후, 실행하여 보자.
# node app.js
브라우저를 통해, http://localhost:3000 에 접속한다.
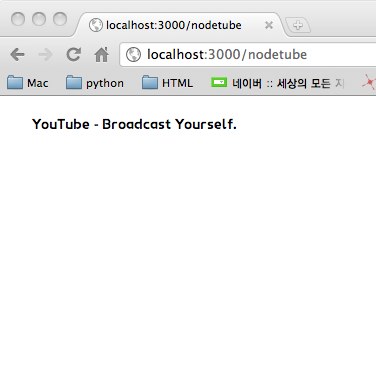
위와 같이 나오면 성공이다. 이제 비디오의 URL을 가져와야할 차례다. 해당 페이지에서 우측 버튼을 클릭하여 소스보기를 해보자. Firebug를 가지고 있으면 다음과 같이 나온다. (역자는 firebug 대신, chrome developer tool을 활용하였음을 알려드린다.)
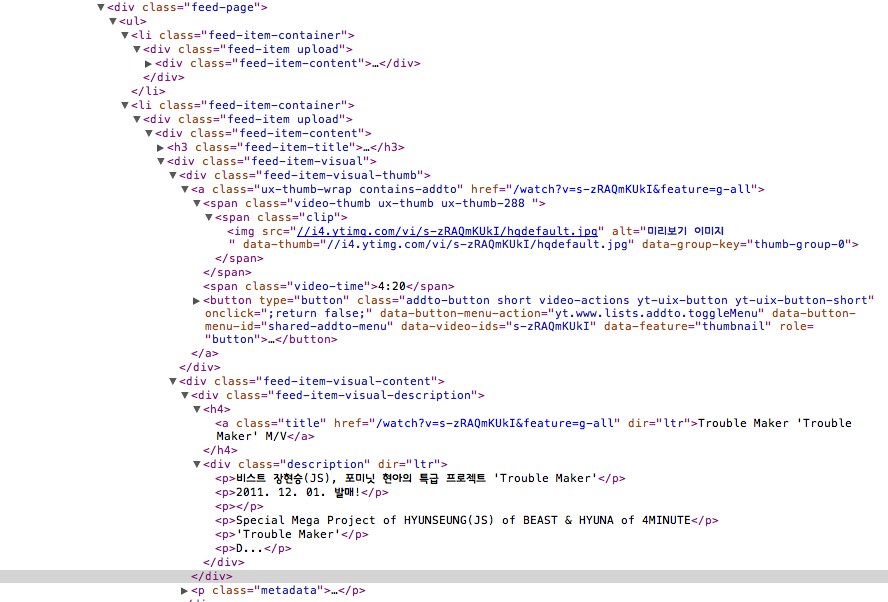
대부분의 비디오 링크에는 다음과 같은 패턴이 있음을 발견할 수 있다.
div.feed-item-content
span.clip
(역자주 : 원문의 코드는 이전 youtube.com의 html을 파싱한 것이므로, 새롭게 변한 youtube.com의 html을 파싱하기 위해 역자가 코드를 수정하였음을 알려드린다. 사실, youtube에서 제공하는 open api를 사용하여 데이타를 얻어와도 되겠지만, 이 예제를 통해 html parsing을 어떻게 하는지 주목하도록 하자. )
이제 /nodetube 라우팅 코드에 다음을 추가한다.
app.get('/nodetube', function(req, res) {
//Tell the request that we want to fetch youtube.com, send the results to a callback function
request({
uri: 'http://youtube.com'
}, function(err, response, body) {
var self = this;
self.items = new Array();
//I feel like I want to save my results in an array
//Just a basic error check
if (err && response.statusCode !== 200) {
console.log('Request error.');
}
//Send the body param as the HTML code we will parse in jsdom
//also tell jsdom to attach jQuery in the scripts and loaded from jQuery.com
jsdom.env({
html: body,
scripts: ['http://code.jquery.com/jquery-1.6.min.js']
}, function(err, window){
//Use jQuery just as in a regular HTML page
var $ = window.jQuery;
$body = $('body'),
$videos = $body.find('.feed-item-content');
$videos.each(function(i, item) {
var $item = $(item);
var $description = $item.find('.title');
var $title = $description.text();
var $a = $description.attr('href');
var $time = $item.find('span.video-time').text();
var $img = $item.find('span.clip img');
var $thumb = $img.attr('data-thumb') ? $img.attr('data-thumb') : $img.attr('src');
self.items[i] = {
href: $a,
title: $title.trim(),
time: $time,
thumbnail: $thumb,
urlObj: url.parse($a, true)
}
});
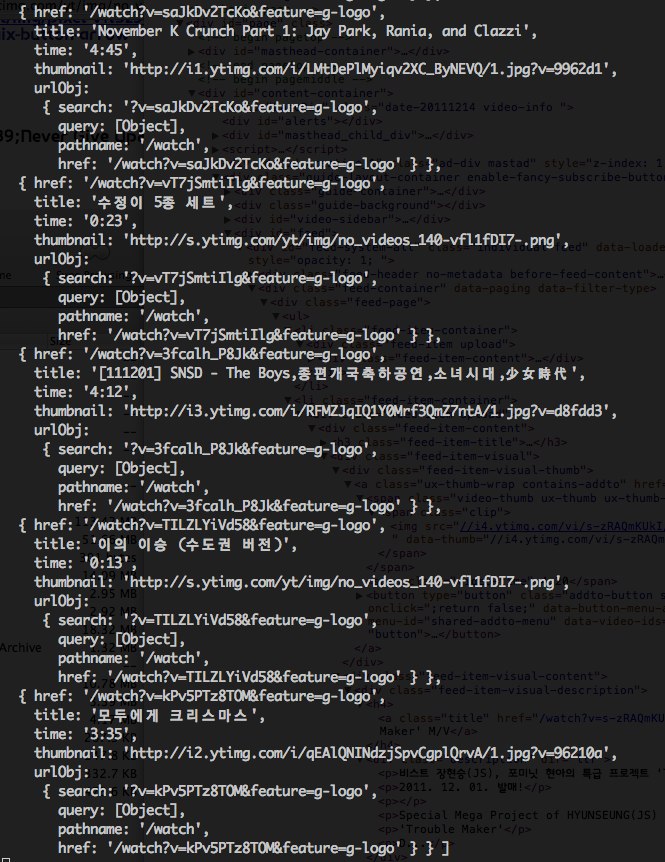
console.log(self.items);
res.end('Done');
});
});
});확인을 해보면 다음과 같이 나와야 한다.
자, 여기까지 왔다면, 이제 결과를 브라우저에 보여주는 방법이 필요하다. 이를 위해, Jade 템플릿 엔지을 사용할 것이다.
“Jade는 Node.js 기반의 자바스크립트로 구현된 고성능 템플릿 엔진이다.”
< views/layout.jade >
views/layout.jade 를 열자. 이 파일은 express가 렌더링할 페이지 레이아웃의 기본구조를 담고 있다. 조금 수정해 보도록 하자.
!!!
html
   head
     meta(charset='utf-8')
     meta(name='viewport', content='initial-scale=1', maximum-scale=1')
     title= title
     link(rel='stylesheet', href='http://code.jquery.com/mobile/1.0b3/jquery.mobile-1.0b3.min.css')
     script(src='http://code.jquery.com/jquery-1.6.2.min.js')
     script(src='http://code.jquery.com/mobile/1.0b3/jquery.mobile-1.0b3.min.js')
   body!= body
원래의 layout.jade와 비교해보면, 몇가지가 변경되었음을 알 수 있다. doctype, viewport 메타태그, 스타일, jquery.com에서 제공되는 스크립트 태그 등이 있다.
이제 리스트 뷰를 만들어보자.
<views/list.jade>
시작하기 전에, 먼저 여기에 있는 jQuery mobile의 문서를 읽어보기 바란다.
기본적으로 jquery mobile 리스트뷰를 사용할 것인데, 썸네일, 제목, 비디오 재생시간 등을 표시해 주고, 각 아이템은 비디오 페이지로의 링크를 가지고 있다.
주의 : jade 문서를 만들때에는 indentation을 탭으로 하던지, 스페이스로 하던지 통일해야 한다. 같이 사용할 수 없다.
div(data-role='page')
  header(data-role='header')
    h1= title   div(data-role='content')
    //just basic check, we will always have items from youtube though
     - if(items.length)
     //create a listview wrapper
      ul(data-role='listview')
        //foreach of the collected elements
        - items.forEach(function(item){
          //create a li
          li
            //and a link using our passed urlObj Object
            a(href='/watch/' + item['urlObj'].query.v, title=item['title'])
              //and a thumbnail
              img(src=item['thumbnail'], alt='Thumbnail')
              //title and time label
              h3= item['title']
              h5= item['time']
        - })
app.js로 돌아가서 다음의 코드를
  console.log(self.items);
  res.end('Done');
아래와 같이 바꾼다.
res.render('list', {
  title: 'NodeTube',
  items: self.items
});
실행해 보면 다음과 같이 나와야 한다.
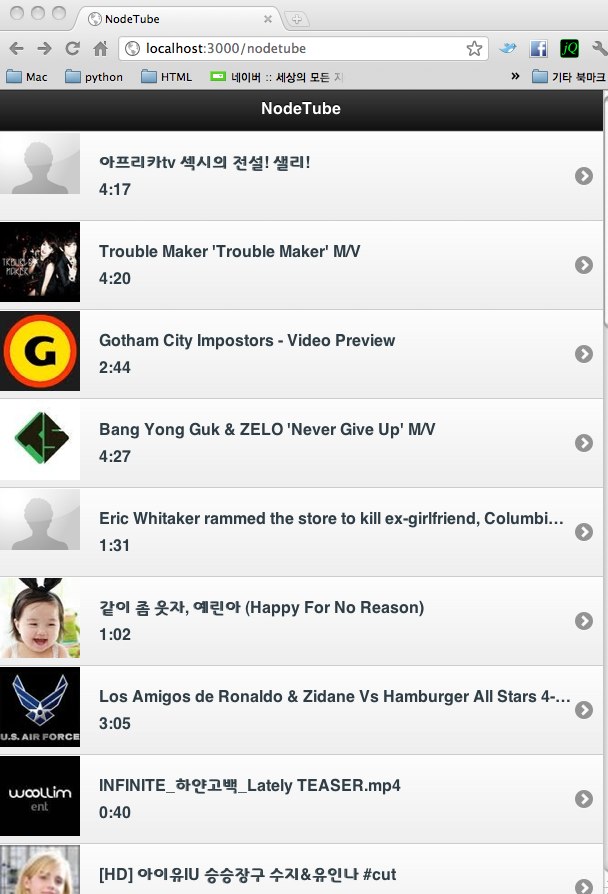
주의 : jquery mobile을 사용했기 때문에, 웹킷 기반의 브라우저를 사용하길 권장하고, 아이폰이나 안드로이드의 브라우저에서 더 괜찮은 결과물을 볼 수 있을 것이다.
Step 4: 비디오 보기 ( Viewing Videos )
이제 /watch 라우팅 코드를 만들어 보자. views/video.jade 를 만들어 다음 코드를 넣자.
div(data-role='page')
header(data-role='header')
h1= title
div(data-role='content')
//Our video div
div#video
//Iframe from youtube which serves the right media object for the device in use
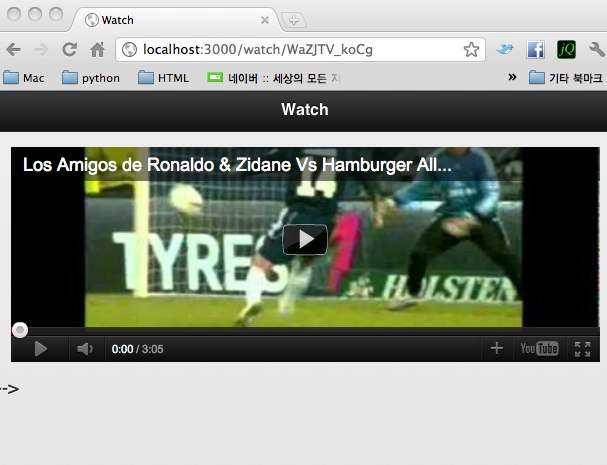
iframe(width="100%", height=215, src="http://www.youtube.com/embed/" + vid, frameborder="0", allowfullscreen)다시 실행시켜 한 아이템을 클릭하면, 다음과 같이 비디오를 재생하는 모습을 볼 수 있다.
Bonus: 생략 ( 역자주: node.js 서버를 항상 떠있게 해주는 방법인데, 관심있으면 원문을 참고하기 바란다. )
Final Thoughts
Node.js, express, npm 등을 활용하여 서버를 만드는 것이 얼마나 쉬운 것인지 이해했기를 바란다. 게다가, 여러분은 Node의 모듈을 어떻게 설치하는 지, Express의 라우팅 코드를 추가하는 방법, Request 모듈을 통해 원격의 페이지를 읽어오는 방법 등을 배웠다.
( 역자주: 역자가 직접 따라해 본 코드는 다음 git에 있으니, 참고하실 분은 참고하시기 바란다. 특히 원문에는 /watch 라우팅 코드가 소개가 안되어 있으니, 참고하시기 바란다.)